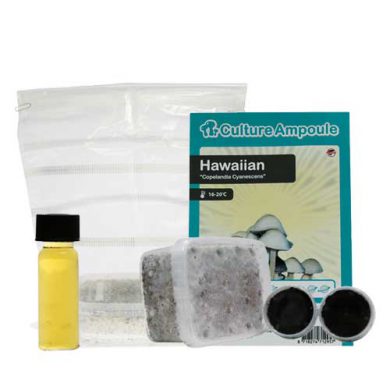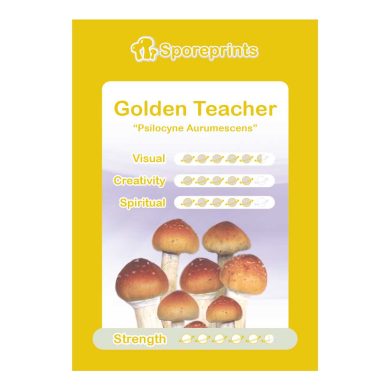
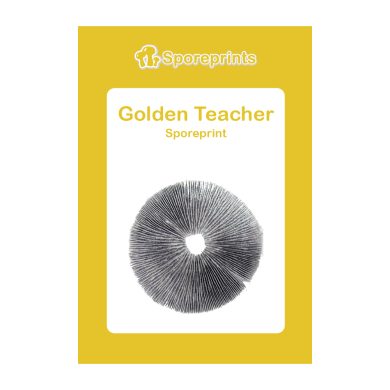
What Are Golden Teacher Sporeprints?
Golden Teacher sporeprints are collections of microscopic spores harvested from the mature caps of Golden Teacher mushrooms. These prints are highly valued for their purity, genetic consistency, and usefulness in cultivation and scientific study. Acting as a genetic blueprint, each sporeprint can be used to grow mushrooms or to explore the diversity of fungal life.
Golden Teacher mushrooms are easily recognized by their golden caps and are known for their introspective, mind-expanding effects. Every sporeprint contains millions of viable spores that, under the right conditions, can develop into mycelium and eventually fruiting mushrooms. Whether you’re pursuing cultivation or simply fascinated by fungi, these sporeprints offer a direct connection to the world of psychedelic mushrooms.
History of Golden Teacher Sporeprints
The exact origin of the Golden Teacher mushroom is unknown, but it was first identified in the 1980s. Its striking golden cap and powerful, reflective psychedelic experience quickly earned it a place among the most beloved strains in the psychedelic community. The name “Golden Teacher” captures both its vivid appearance and its reputation for delivering enlightening journeys.
Over time, Golden Teacher sporeprints have become essential for both hobbyist cultivators and professional mycologists. They’re not just prized for their psychoactive effects but also for the mushroom’s resilience, adaptability, and ease of cultivation. These sporeprints preserve the legacy of a species that continues to inspire curiosity and respect around the world.
How to Use Golden Teacher Sporeprints
Step 1: Prepare a Sterile Petri Dish
Start by preparing a Petri dish filled with sterile agar, either homemade or purchased. Ensure a clean workspace to prevent contamination.
Step 2: Apply the Spores
Scrape a small amount of spores from the sporeprint onto the agar surface using a sterile tool. Alternatively, use a spore syringe to drop a solution onto the dish.
Step 3: Incubate the Culture
Seal the dish and place it in a warm, dark environment where fungal growth can occur. Over the course of several days or weeks, spores will germinate and form mycelium.
Step 4: Select and Purify Mycelium
Once mycelium has spread, identify a healthy section for transfer. This step helps isolate strong, uncontaminated growth.
Step 5: Cut a Mycelium Sample
Use a sterile scalpel to cut a 6×6 mm piece of mycelium and prepare it for inoculation.
Step 6: Inoculate a New Growth Medium
Transfer the cut section into a fresh agar dish or another growth medium, and incubate under sterile conditions to promote further growth.
Patience and precision are key throughout the process. Each stage reveals more about fungal life and brings cultivators closer to a successful harvest.
Ingredients of Golden Teacher Sporeprints
Golden Teacher sporeprints contain millions of naturally harvested spores, each carrying the full genetic profile of the parent mushroom. These prints are completely free of additives or synthetic materials and are preserved on sterile mediums to ensure long-term viability. When stored properly—cool, dark, and dry—they can remain viable for years, making them a reliable resource for mycology projects.
Warning
Golden Teacher mushrooms contain psilocybin and psilocin, two powerful psychoactive compounds known for altering perception, mood, and cognition. Always handle and consume responsibly. Sporeprints are legal in many regions for research or educational use but may be illegal for cultivation depending on your location. Keep all related materials safely stored and out of reach of children.